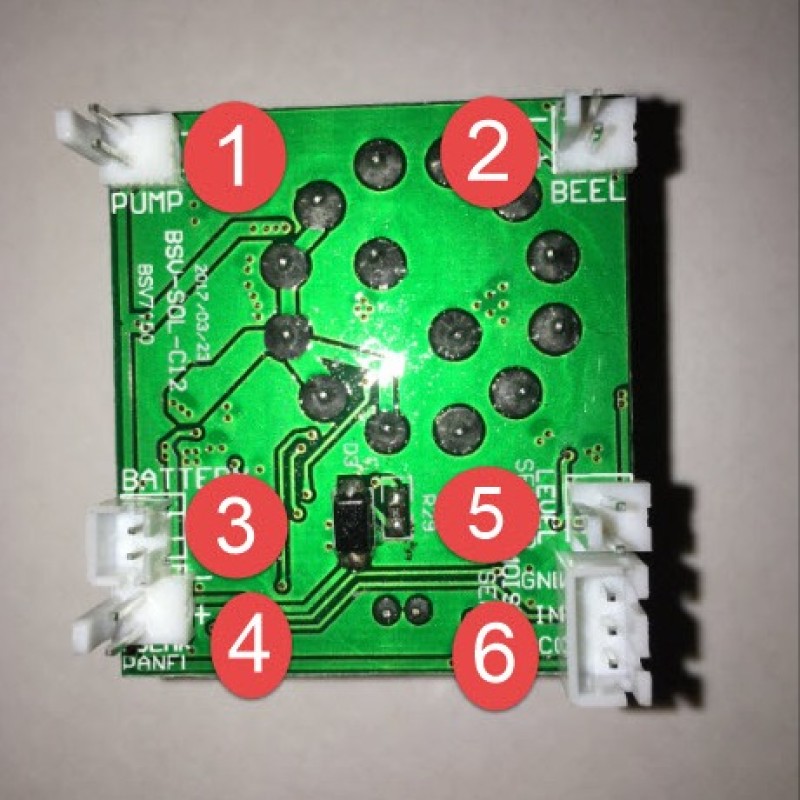
Spare PCB for C12 and C24 controller units with mechanical dial
If your controller unit has a red button and LCD, then you will need the IRR-PCB-LS instead.
How to Replace the SOL-C12/C24 PCB
Remove knob from shaft – it just pulls offRemove 5 screws and open case lidUnplug battery holder (lid), solar panel, pump and any accessories connected. (Support the PCB while plugging/unplugging connections)Undo collar nut on outside of case – carefully work the PCB from its holePlug the hard to reach accessories onto the new PCB, it is much more difficult once in placeWork the PCB into position ensuring that the LED is positioned to go into its hole in the case. Make sure the locating lug on the PCB is in the correct position so the PCB cannot turnReplace the collar nutPlug in remaining connectors – the connections on the PCB are labelledReplace the lidPush the knob onto its shaft ensuring the pointer is in the right position. Do not push too hard as this can damage the switch.

